Tutorial: How to use the video backpack
On this page, we show the usage of the "video backpack". Section A explains the setup of the components that are included in the video backpack. In Section B, we describe how live recordings of lectures or talks can be realized with the pre-installed software OBS Studio, which enables the combination of camera image and presentation slides. Section C explains the live streaming functionality of OBS Studio using YouTube as streaming platform. Furthermore, a Video Tutorial is included at the bottom of tis page providing step-by-step instructions on the basic usage of the video backpack. A video backpack can only be borrowed by lecturers of Chemnitz University of Technology for the purpose of lecture recording or lecture streaming.
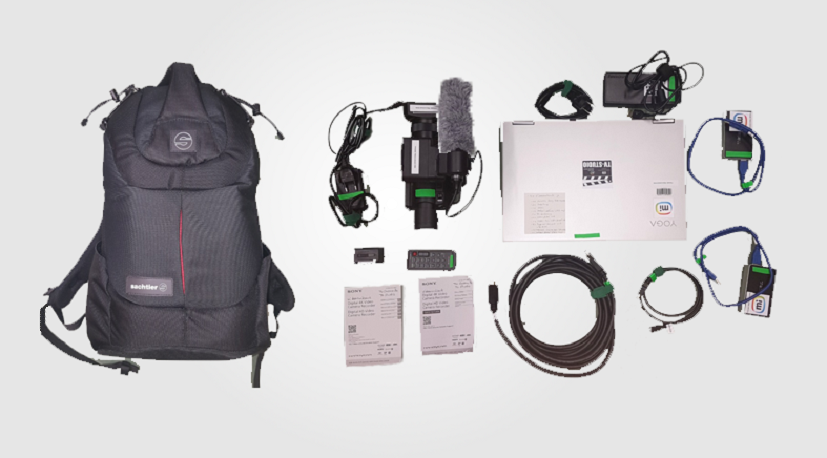
Content / Scope of delivery
1x Sony FDR-AX100 camera, weight: approx. 0.9kg, 2x manual, 1x battery, 1x power supply unit for the camera, 1x remote control, 1x HDMI cable, 1x HDMI-Mini-HDMI cable, 2x Magewell converter with USB cable, 1x notebook Lenovo Yoga 720-15IKB, 1x notebook power supply unit
Recommended accessory: Tripod (Neewer T210 or Neewer Alloy or Sachtler ACE)
A) Installation
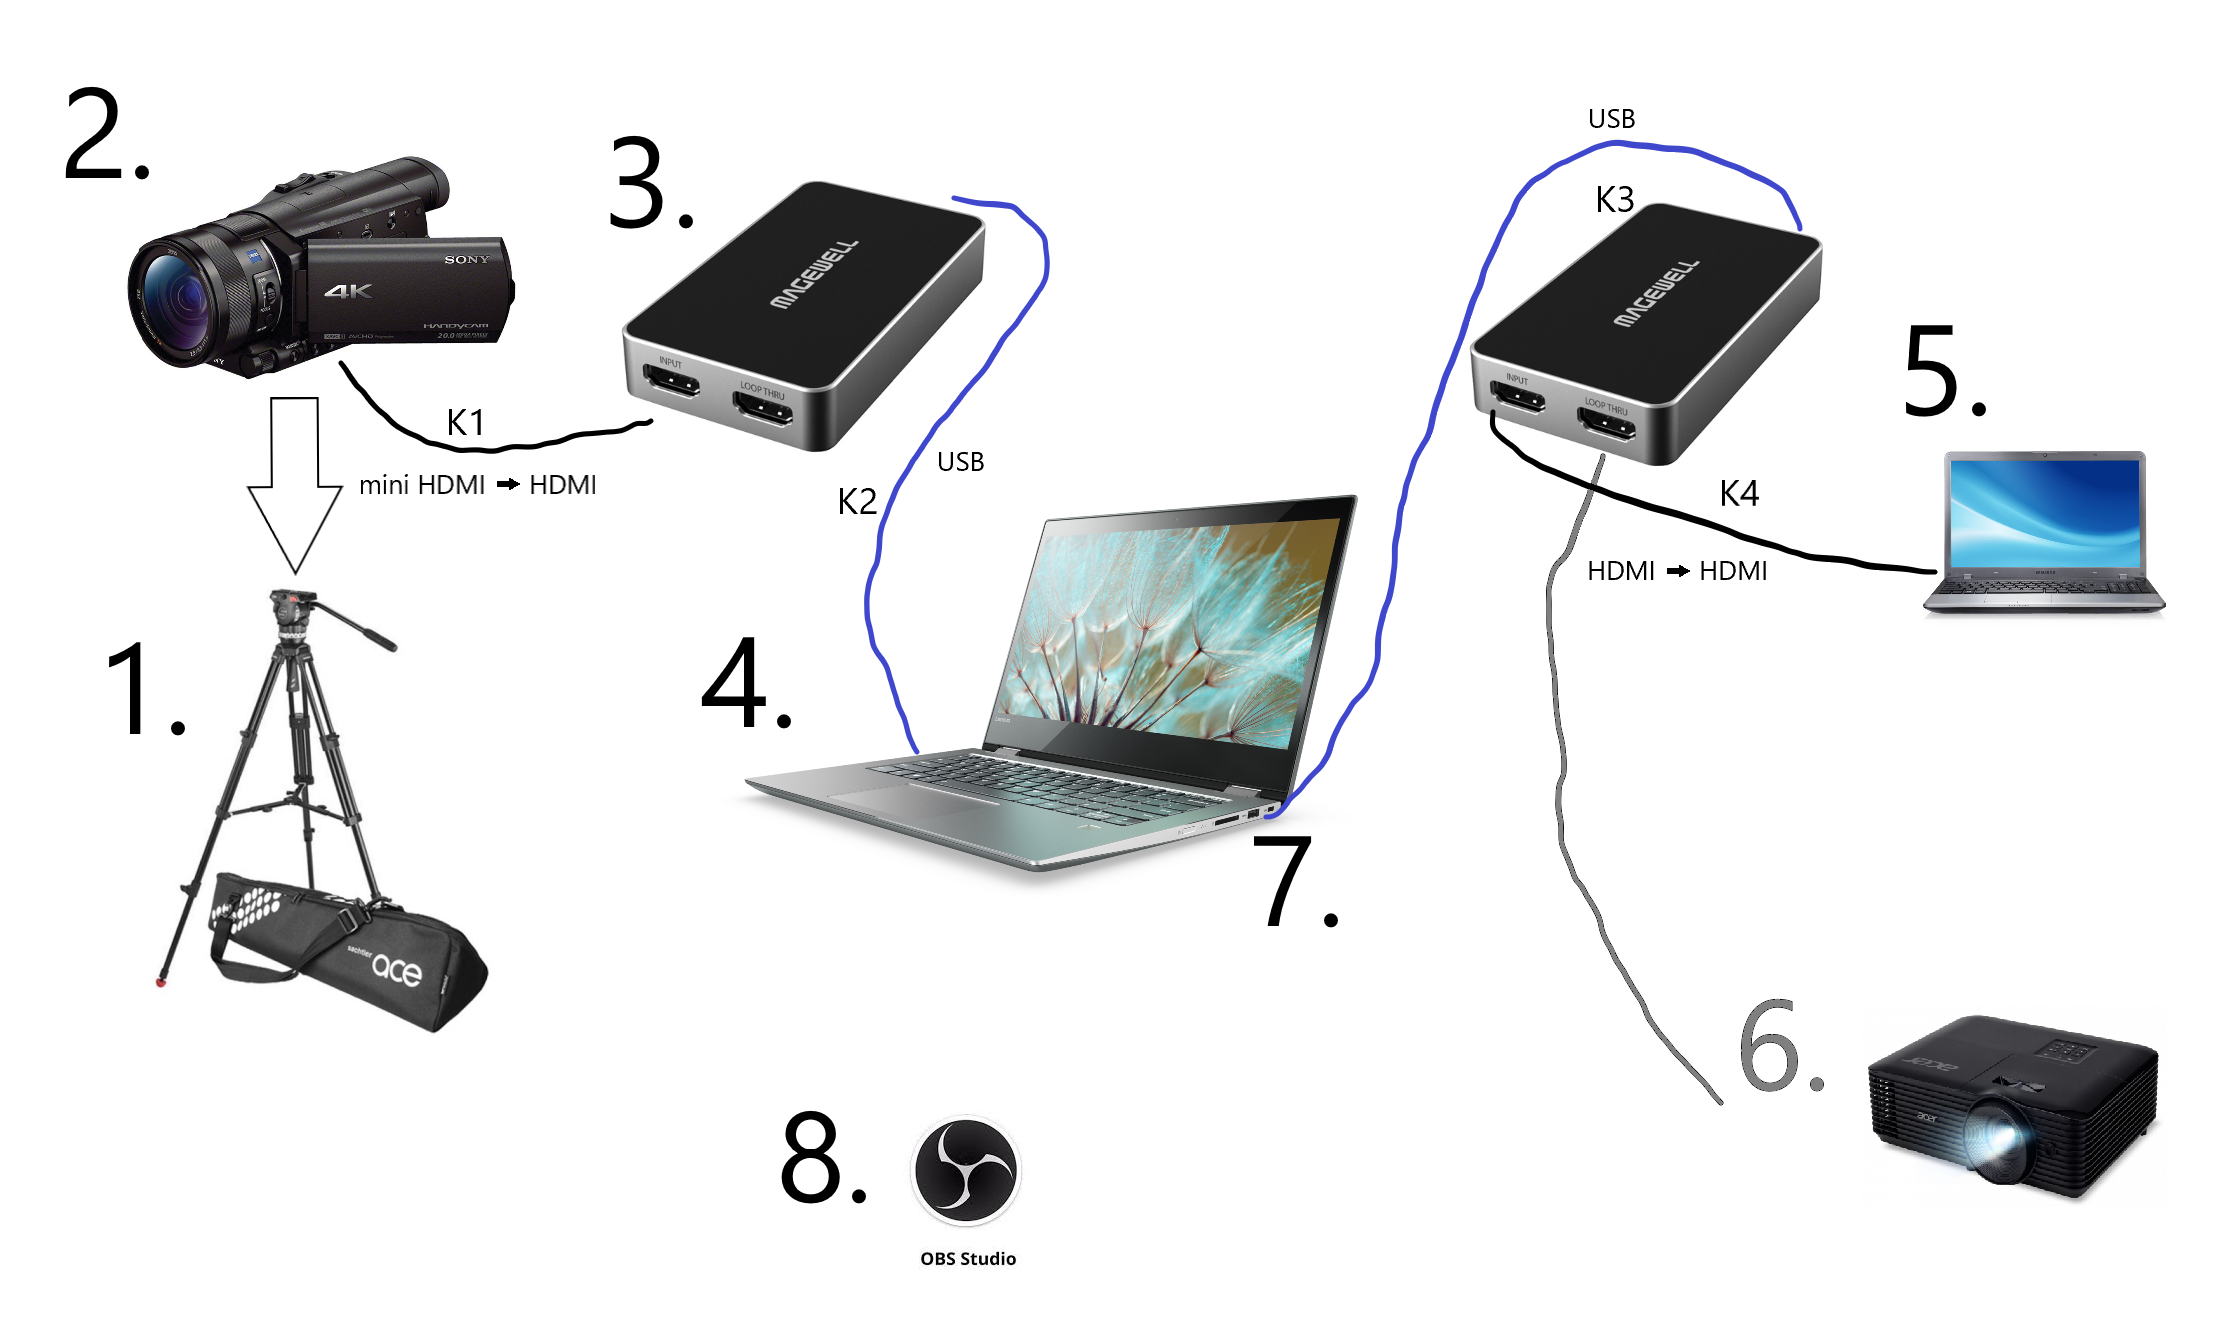
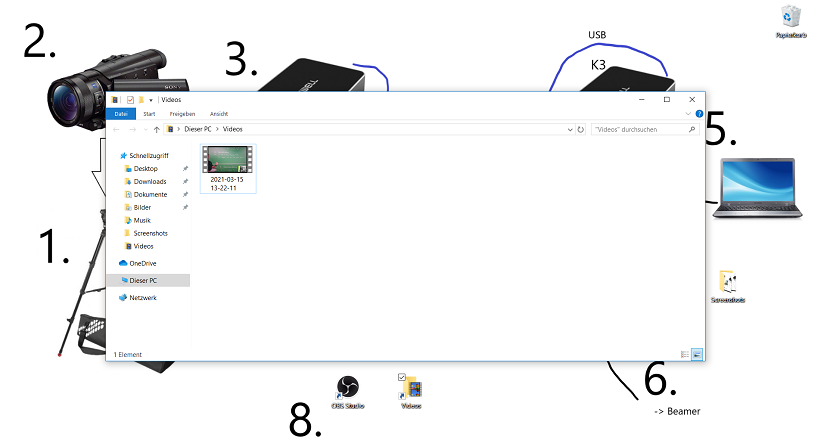
Step 1: Place the tripod at the recording location. Step 2: Mount the camera on the tripod head. Step 3: Connect the first HDMI converter to the camera (K1). Step 4: Connect this HDMI converter to the Lenovo laptop (K2). Step 5: Connect the second HDMI converter to the Lenovo laptop (K3) and to your own laptop/PC (K4). Step 6: Connect this HDMI converter to the projector (optional; cable not included). Step 7: Switch on both the Lenovo laptop, your own laptop and the camera (as well as the beamer). Step 8: Start 'OBS Studio' from the desktop of the Lenovo laptop. If the display of your own laptop is not yet visible in OBS, please check whether its output is duplicated via the HDMI interface (e.g., using the keyboard shortcut [Windows]+[P]).
B) Recording
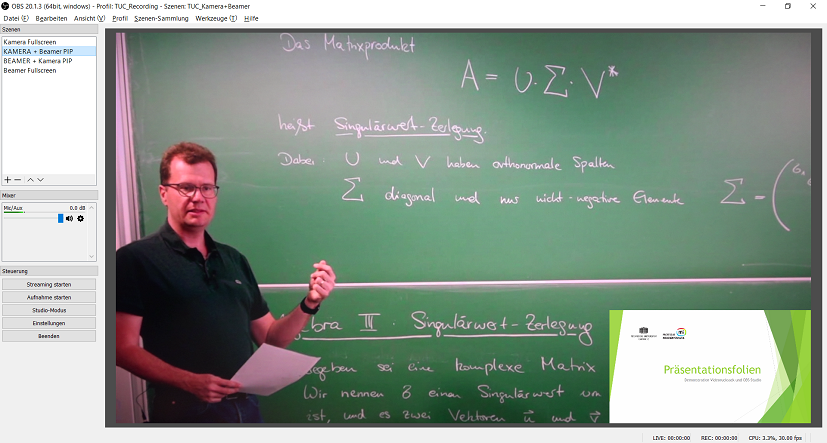
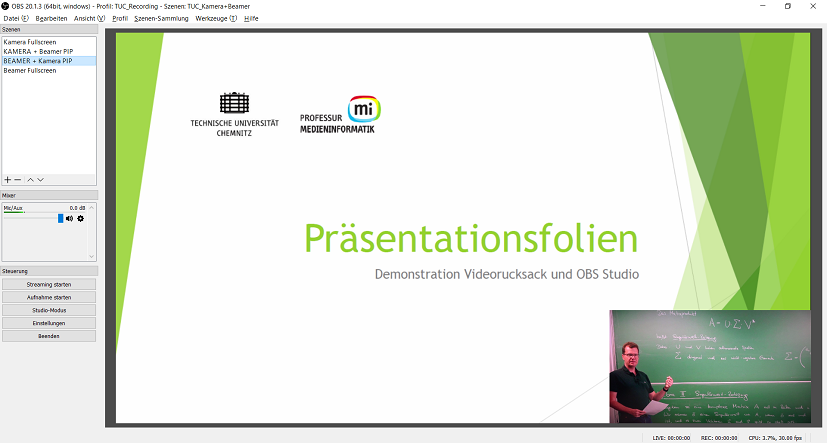
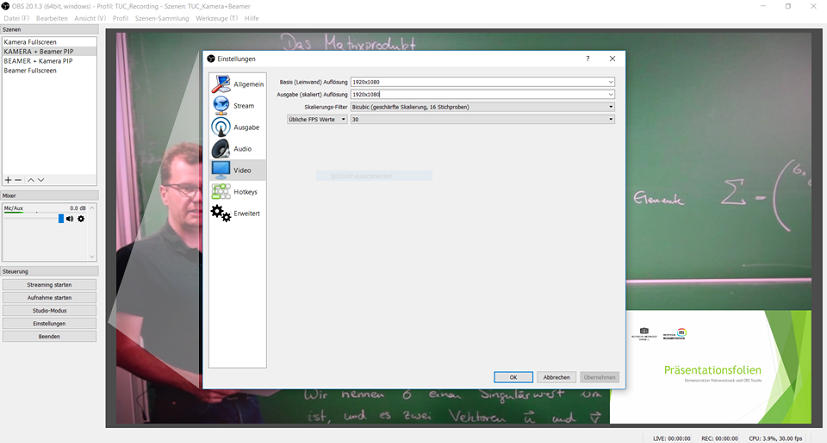
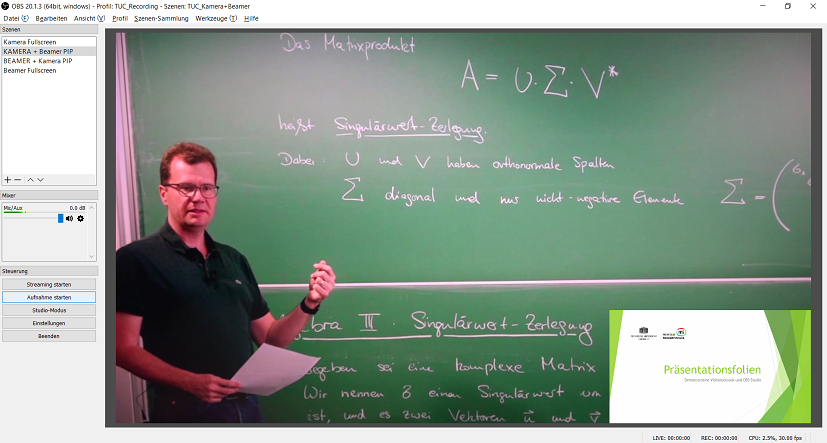
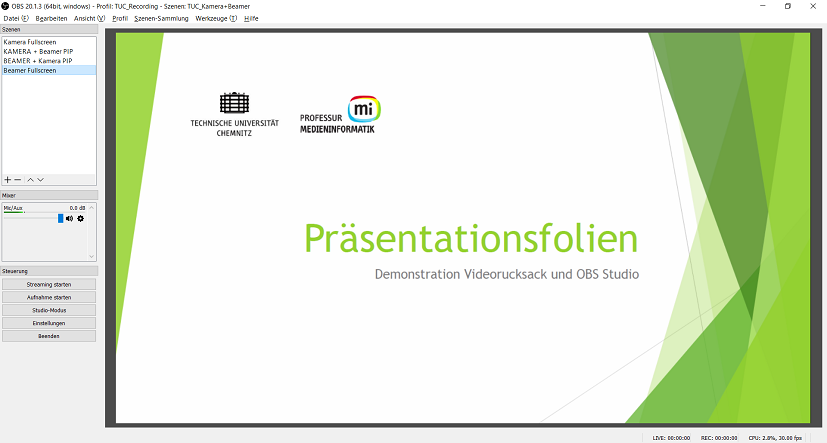
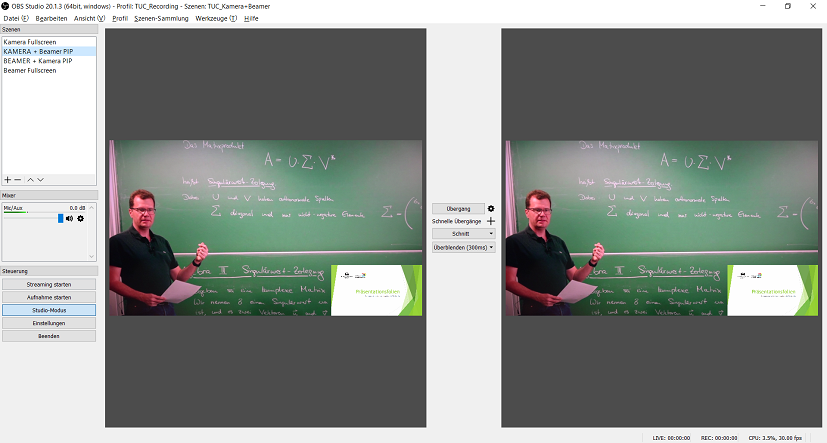
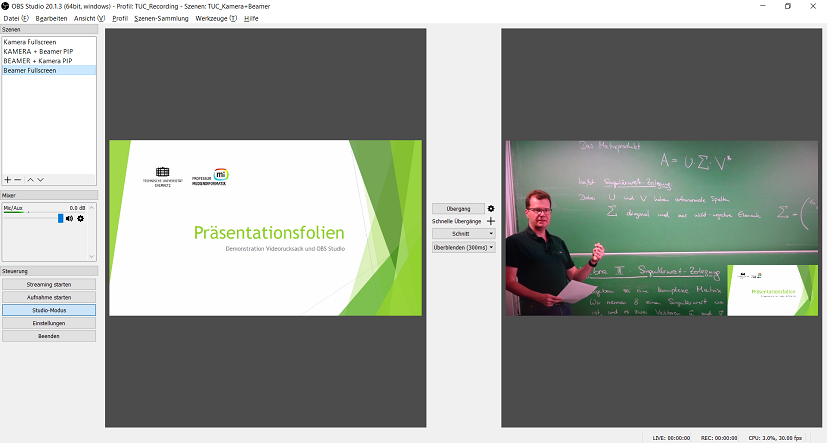
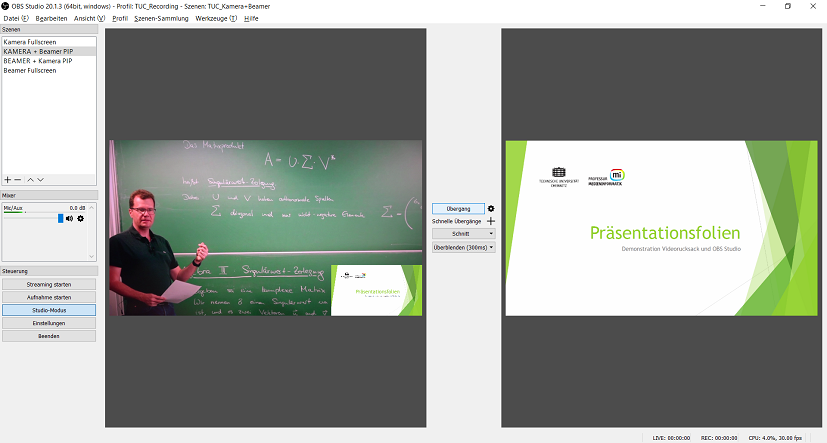
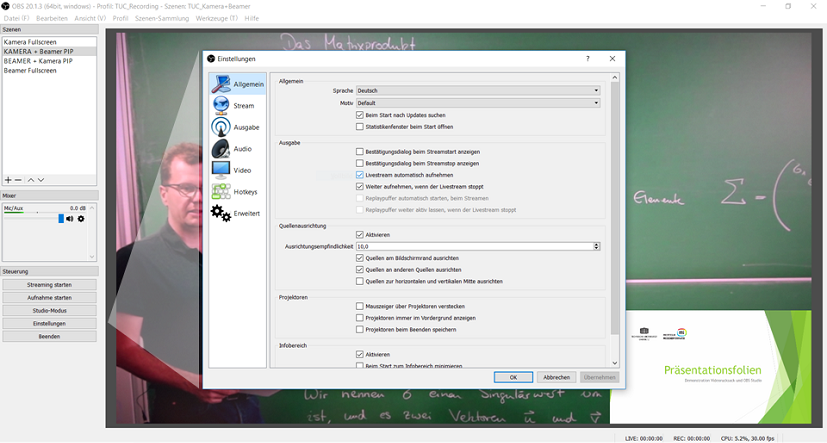
The slideshow explains the procedure how to create a video recording of a lecture using OBS Studio.

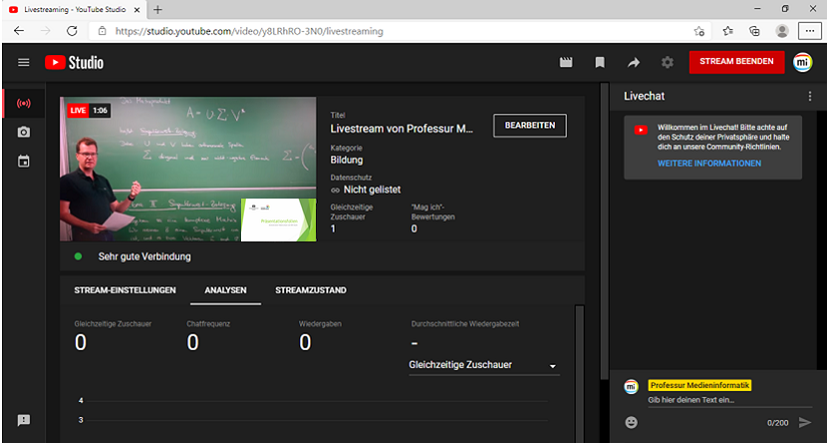
C) Streaming
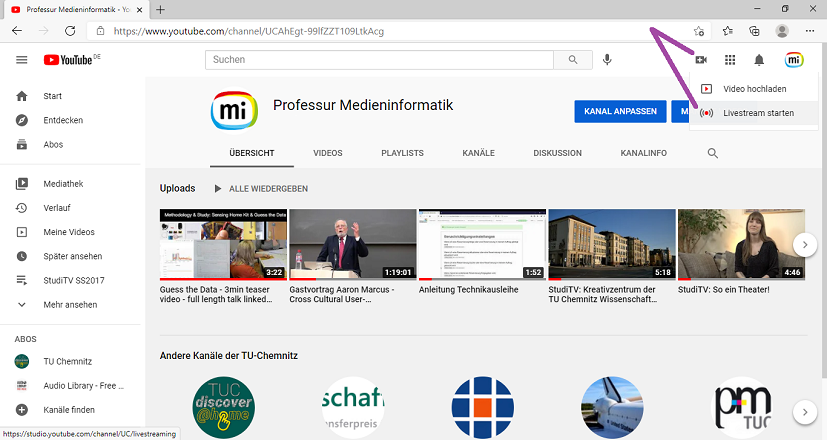
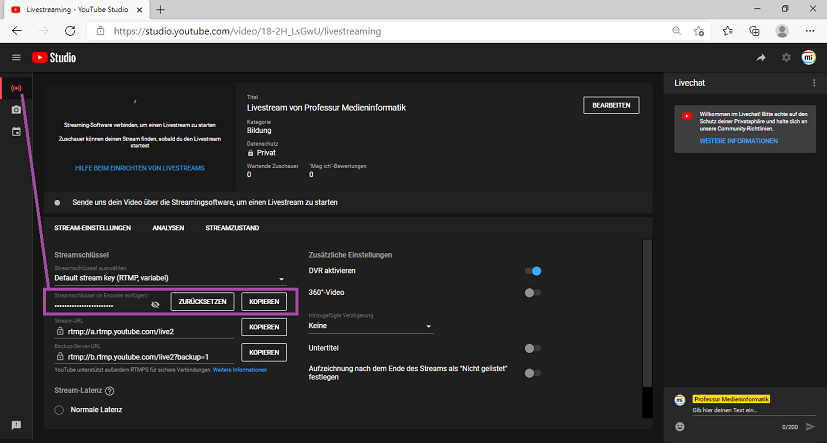
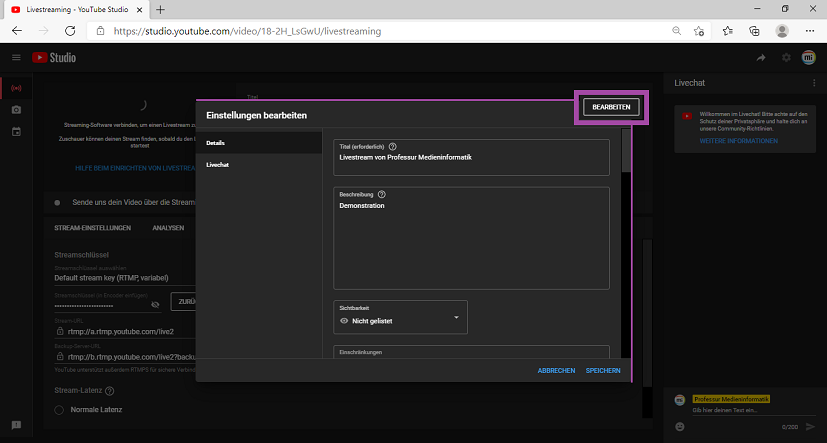
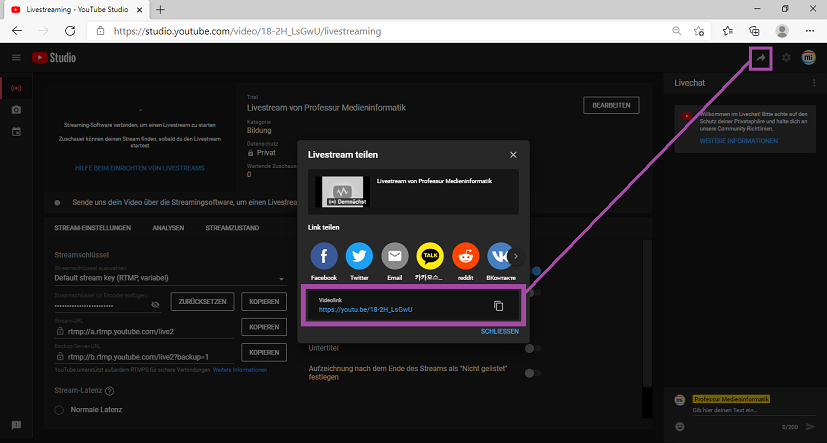
The software 'OBS Studio', which is preinstalled on the Lenovo laptop, provides the user with the option of streaming live to the Internet. For this purpose, several platforms (YouTube, Facebook, Twitch, etc.) are available in OBS Studio. The following slideshow explains the procedure how to realize a live stream of a lecture using OBS Studio. For live streaming with YouTube...
- you need your own YouTube account with activated live streaming functionality (more information),1. Open YouTube, click your profile picture in the upper right corner, and select Settings.
2. Go to Channel Status and Features and select Confirm.
3. Choose your preferred method to get the confirmation code and enter your phone number.
4. Click Send. Enter the code and click Send again.
5. You will then receive a message that your account has been confirmed. Click Next.
6. Activate the livestream feature by scrolling down and clicking Activate under Livestreaming. - you might wait up to 24 hours until your first live stream can be started,
- you can set up the live stream on the YouTube website using the Lenovo laptop or your own laptop.


Video Tutorial
The video tutorial shows how the components of the video backpack including tripods can be set up, gives an overview of the user interface of the software OBS Studio, describes the recording function of OBS Studio, and explains how a live stream of a lecture can be realized using YouTube as streaming platform.